Logo insertion
Users can configure Logo insertion in the “Output stream video configuration options” section, by clicking the “Output stream video configuration options” button, which can be seen in Figure 46.
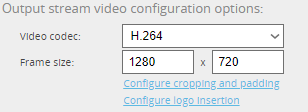
Upon clicking it, we are presented with another pop-up window, which the user can set up, as seen in Figure 47.
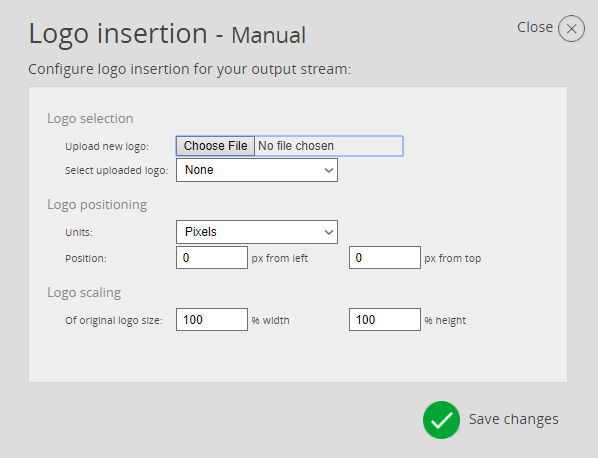
First, a logo file in the .png format must be uploaded and selected. After that, the user can choose to position the logo either in pixels, or set its positions using percent. If for some reason a logo has to have an adjusted scale, it’s possible to do it using the Logo scaling option.
If you save a pipeline that uses the Logo insertion function and has a logo uploaded as a preset, it will be saved with the logo file, too.